Writing about my Kilimanjaro trek will not be easy: How can I do justice in describing what was:
- likely the greatest adventure of my life
- the culmination of 18 months worth of preparation
- literally (almost entirely) a walk in the park
… all at the same time?
Nevertheless, I’ve been back for a few weeks now and I’m compelled to put fingers to keyboard before life keeps moving on and memories fade.
First, Some Context
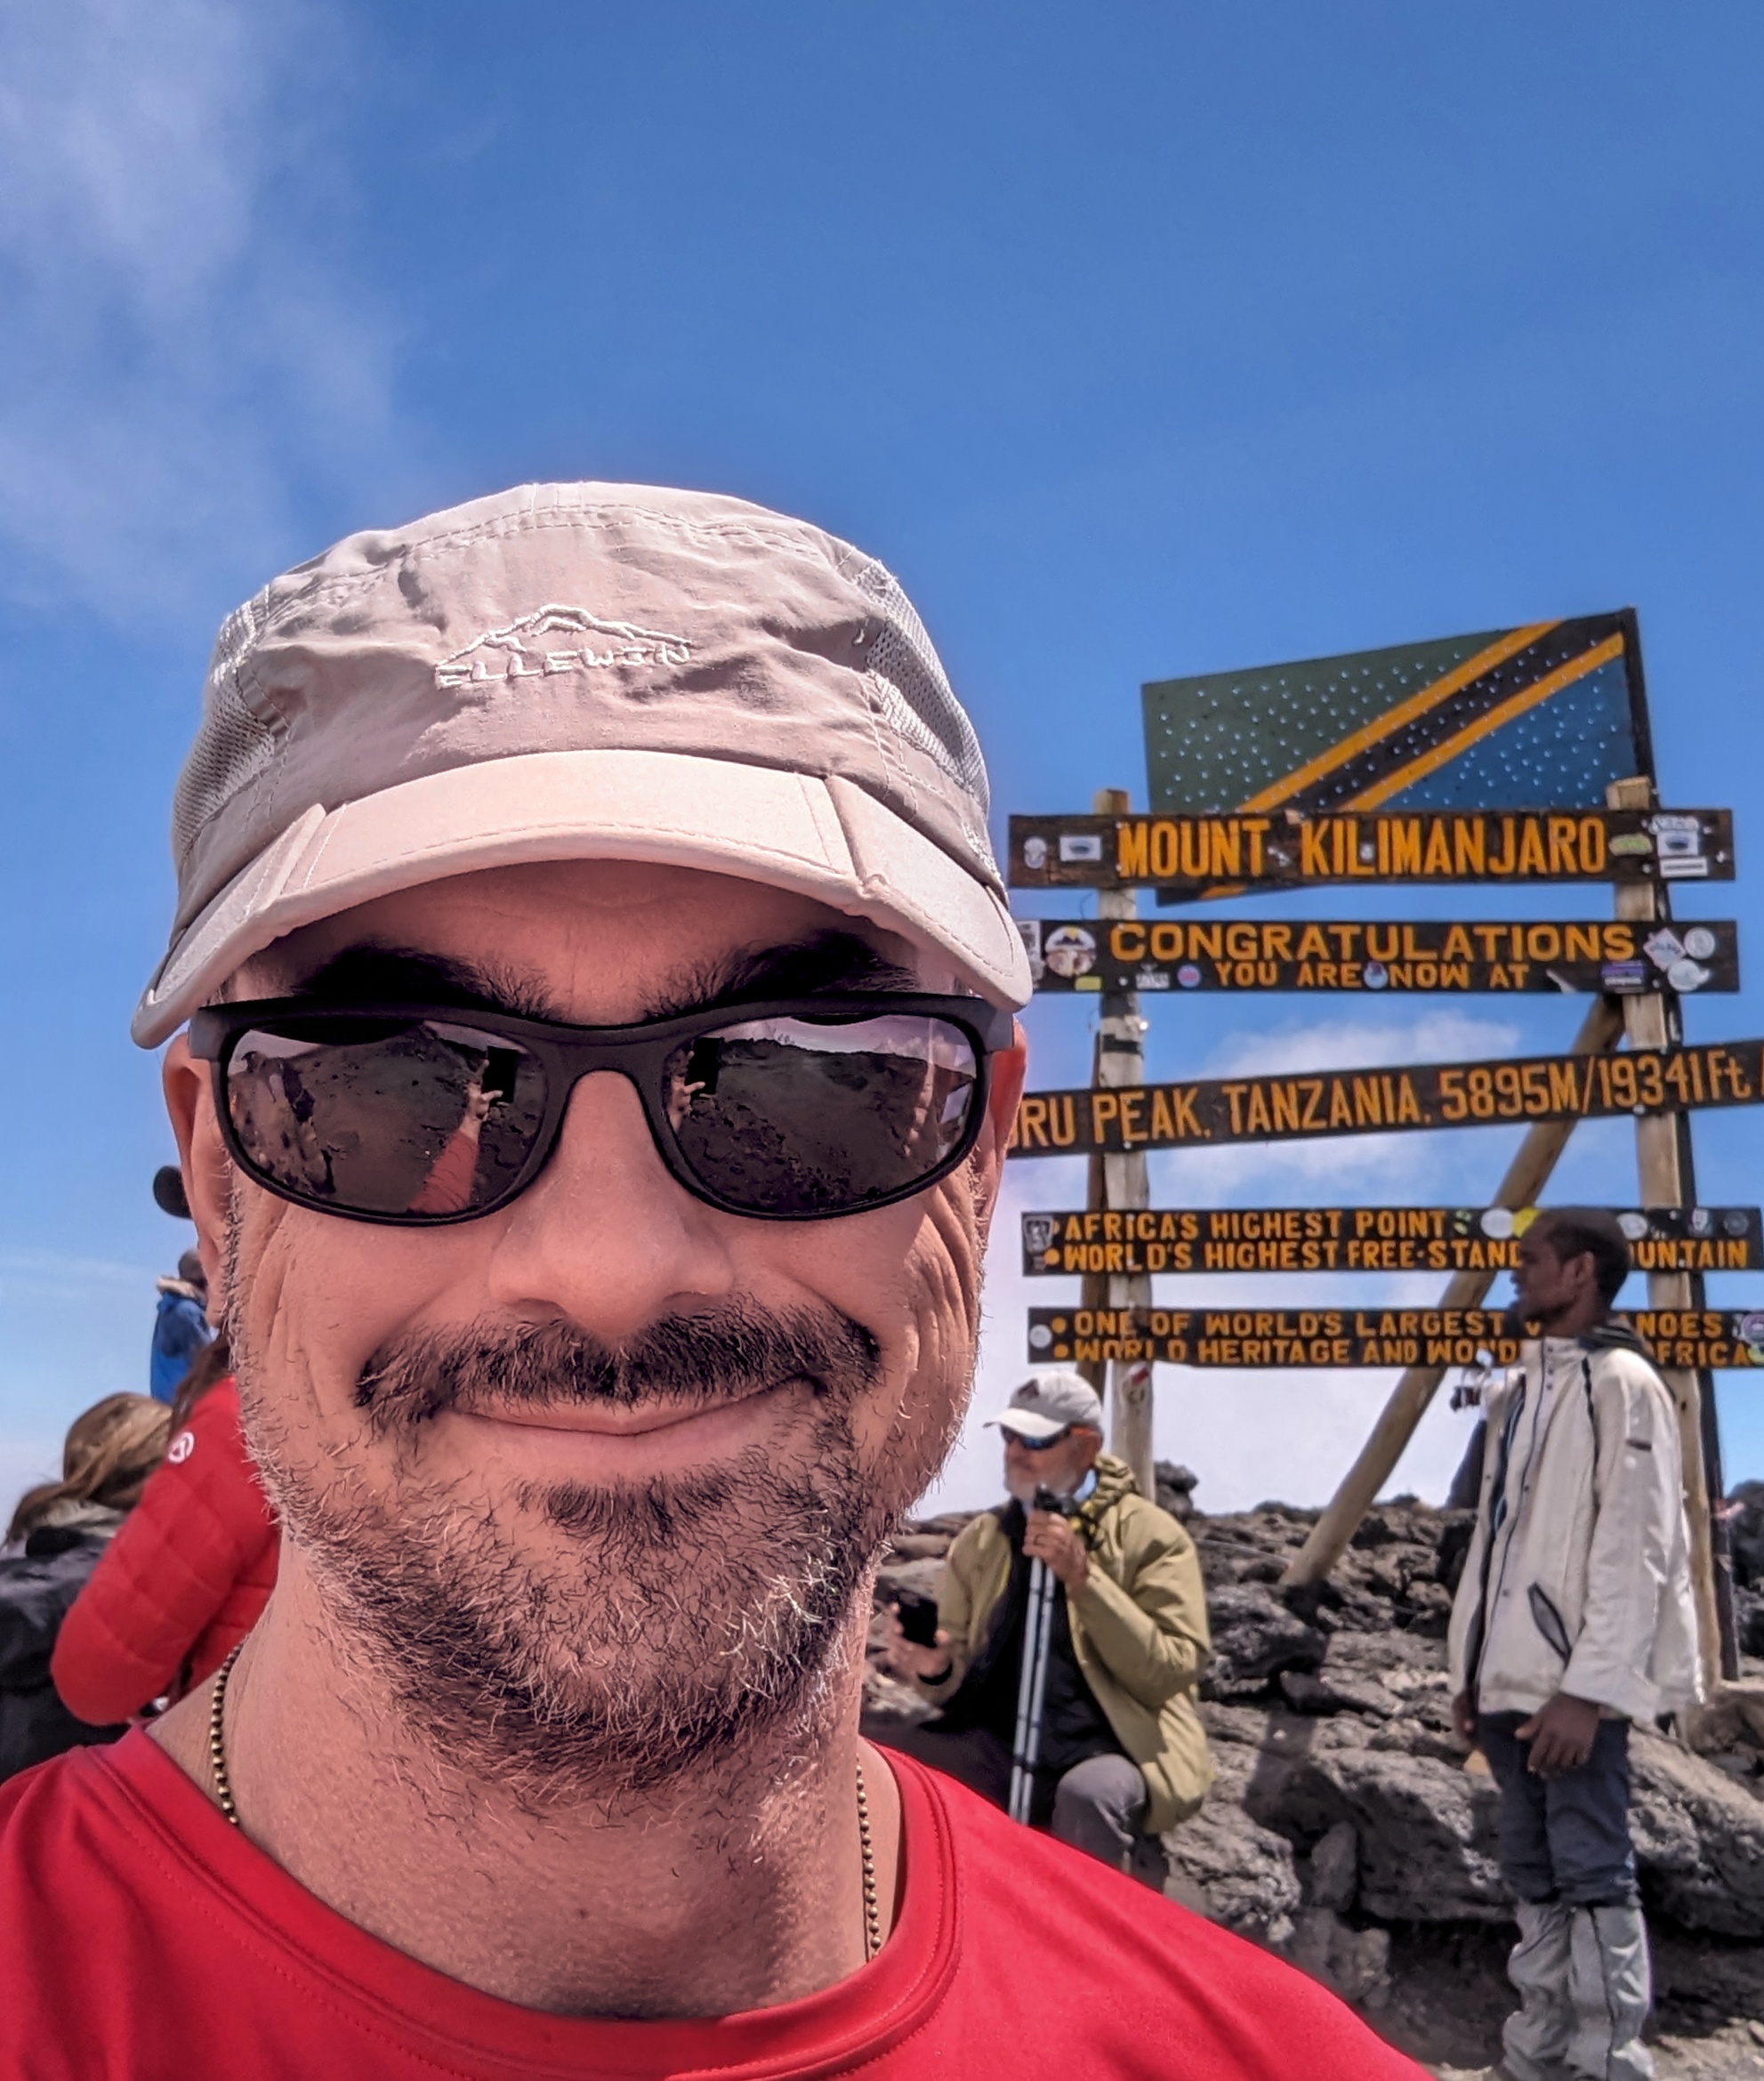
At 19341 feet, Kilimanjaro’s peak is the highest point in Africa (its representative in the Seven Summits). It’s the world’s highest free-standing mountain, and about the highest one can hike without specialized gear or oxygen. It was first summited in 1889, by a German.
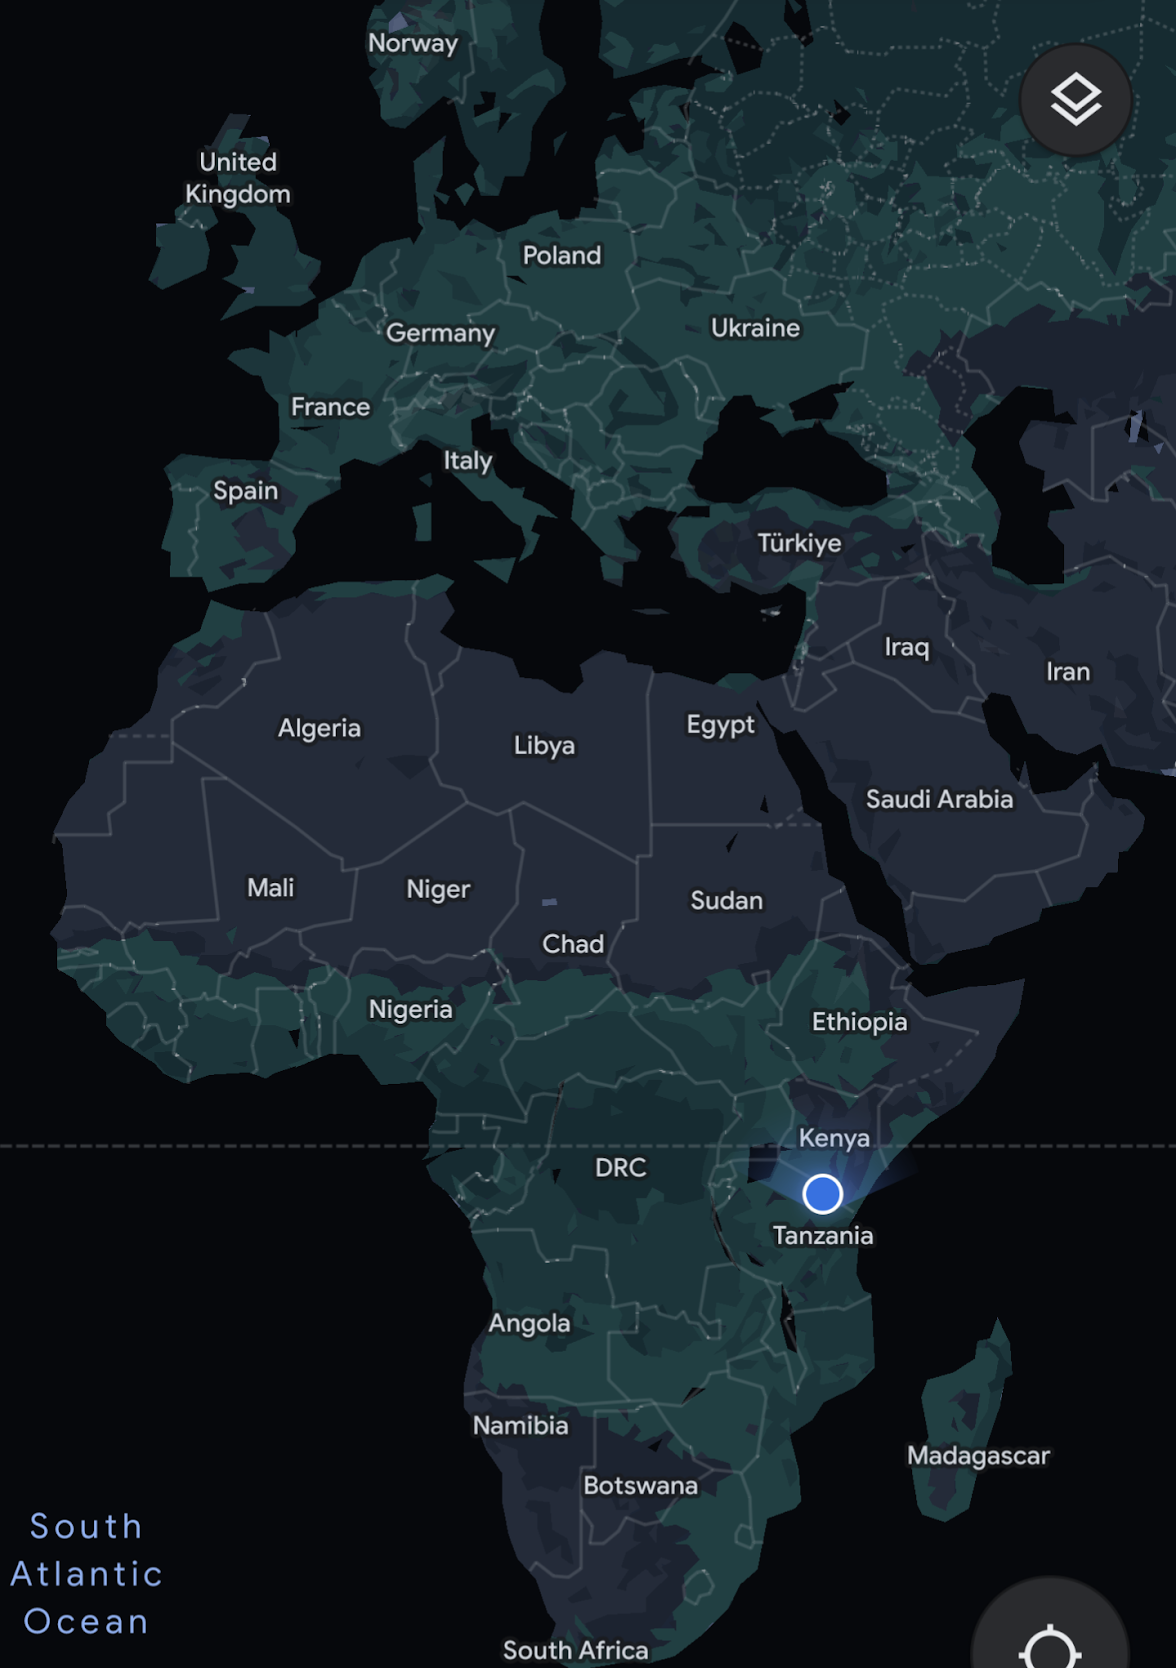
It’s located on the border of Tanzania and Kenya.
Thanks to its location just south of the equator, its longest day is within a minute of the shortest. We summitted on July 6, 2023:
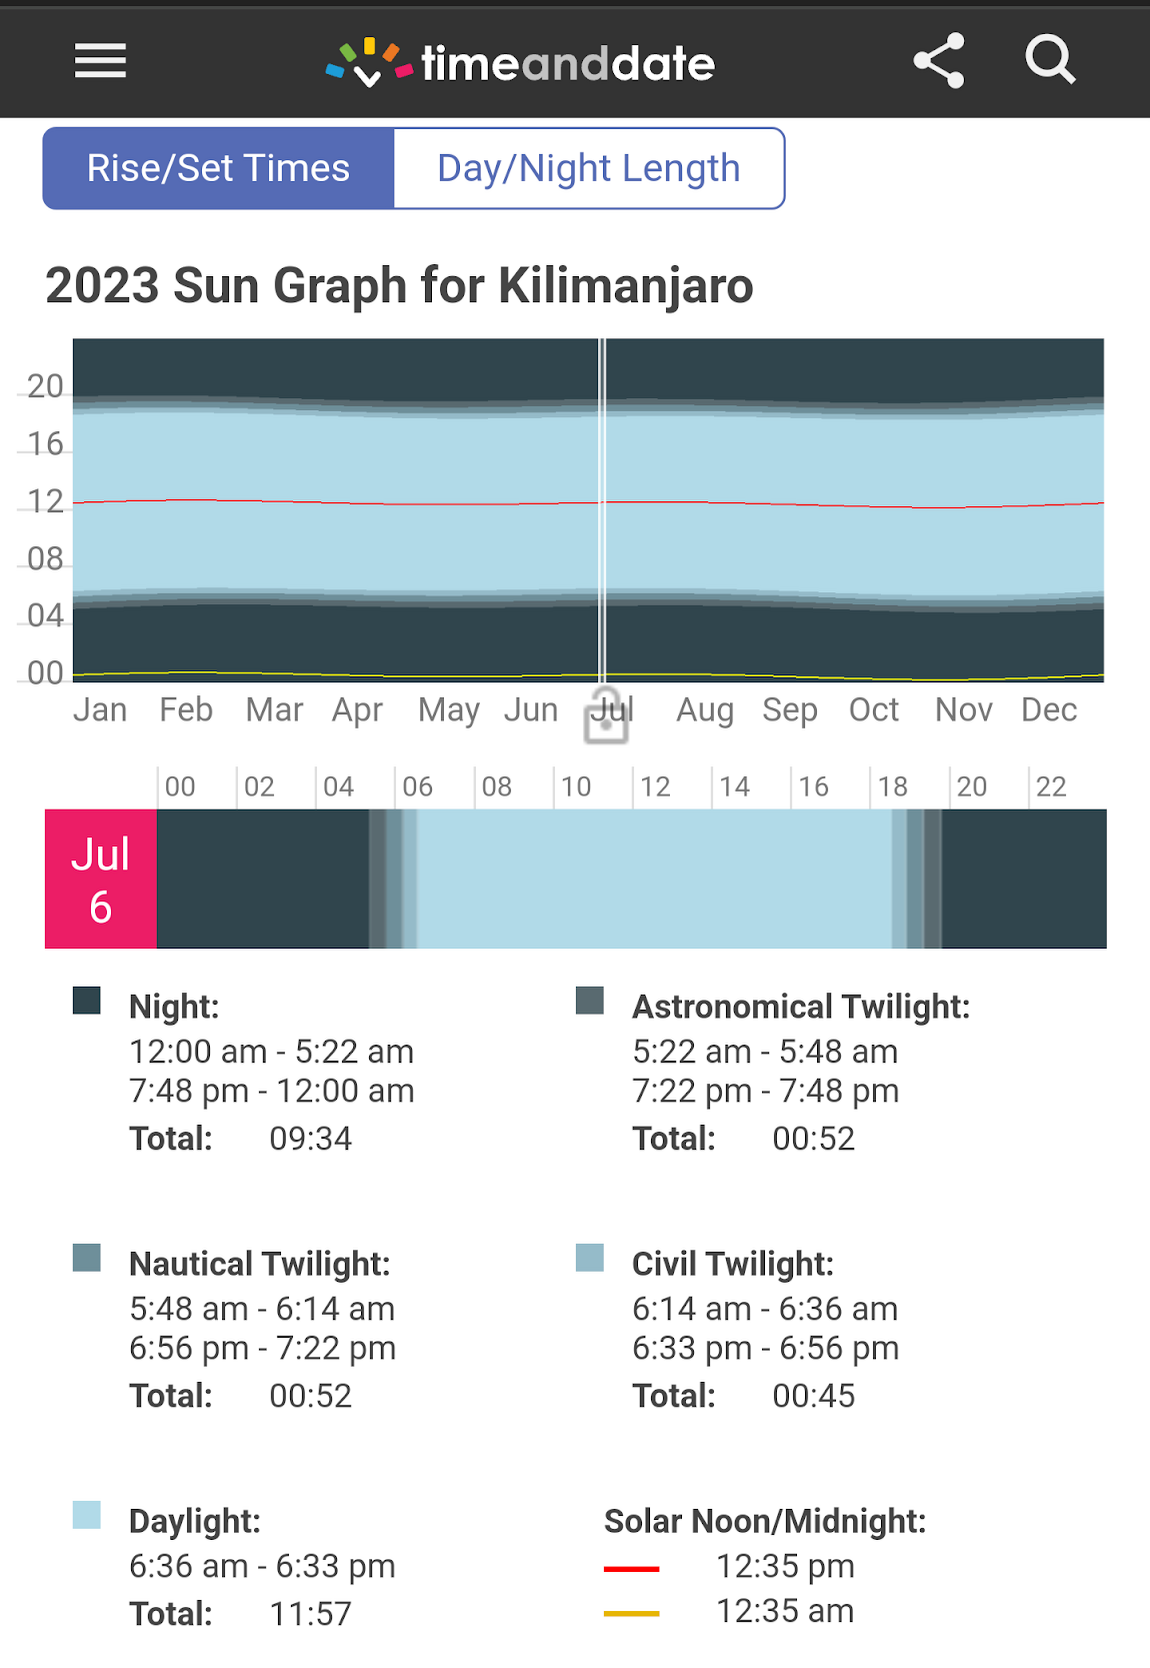
The overall summit success rate for Kilimanjaro treks is only around 50%, but that’s primarily because many people try to do it too quickly (e.g. 5 days) and fail to acclimatize to the altitude. Our trek was 9 days via the Western Approach, an itinerary with a historical success rate of 98%.
Expectations
While I’d done some research before booking my trek, and some more before actually embarking, I also avoided high-bandwidth spoilers — I didn’t look at many photos, any videos, or even use Google Maps to look at Kilimanjaro. As a consequence, I had surprisingly few expectations for what trekking Kili would entail, and, for the most part, the expectations I did have were all wrong.
Expectation: The trek would be grueling.
Reality: While it was definitely tiring at times, my legs were sore only one evening. While most of my treadmill runs result in a heart rate of 150-170 for an hour or more at a time, I don’t think my heart rate went over 130 for the entire Kili trip. Most days involved only around 5 hours of slow-paced hiking.
My shoulders got sore at a few points (I haven’t worn a backpack in decades) but nothing major. I felt few effects of altitude (slightly short of breath at times, a minor headache one evening likely a result of dehydration).
My biggest issue (by far) was a persistent gurgling in my belly making me worry that I’d need a bathroom at a time when none was available.
Expectation: I’d be incredibly inspired by views of Kilimanjaro in our two days in Tanzania before the trek started.
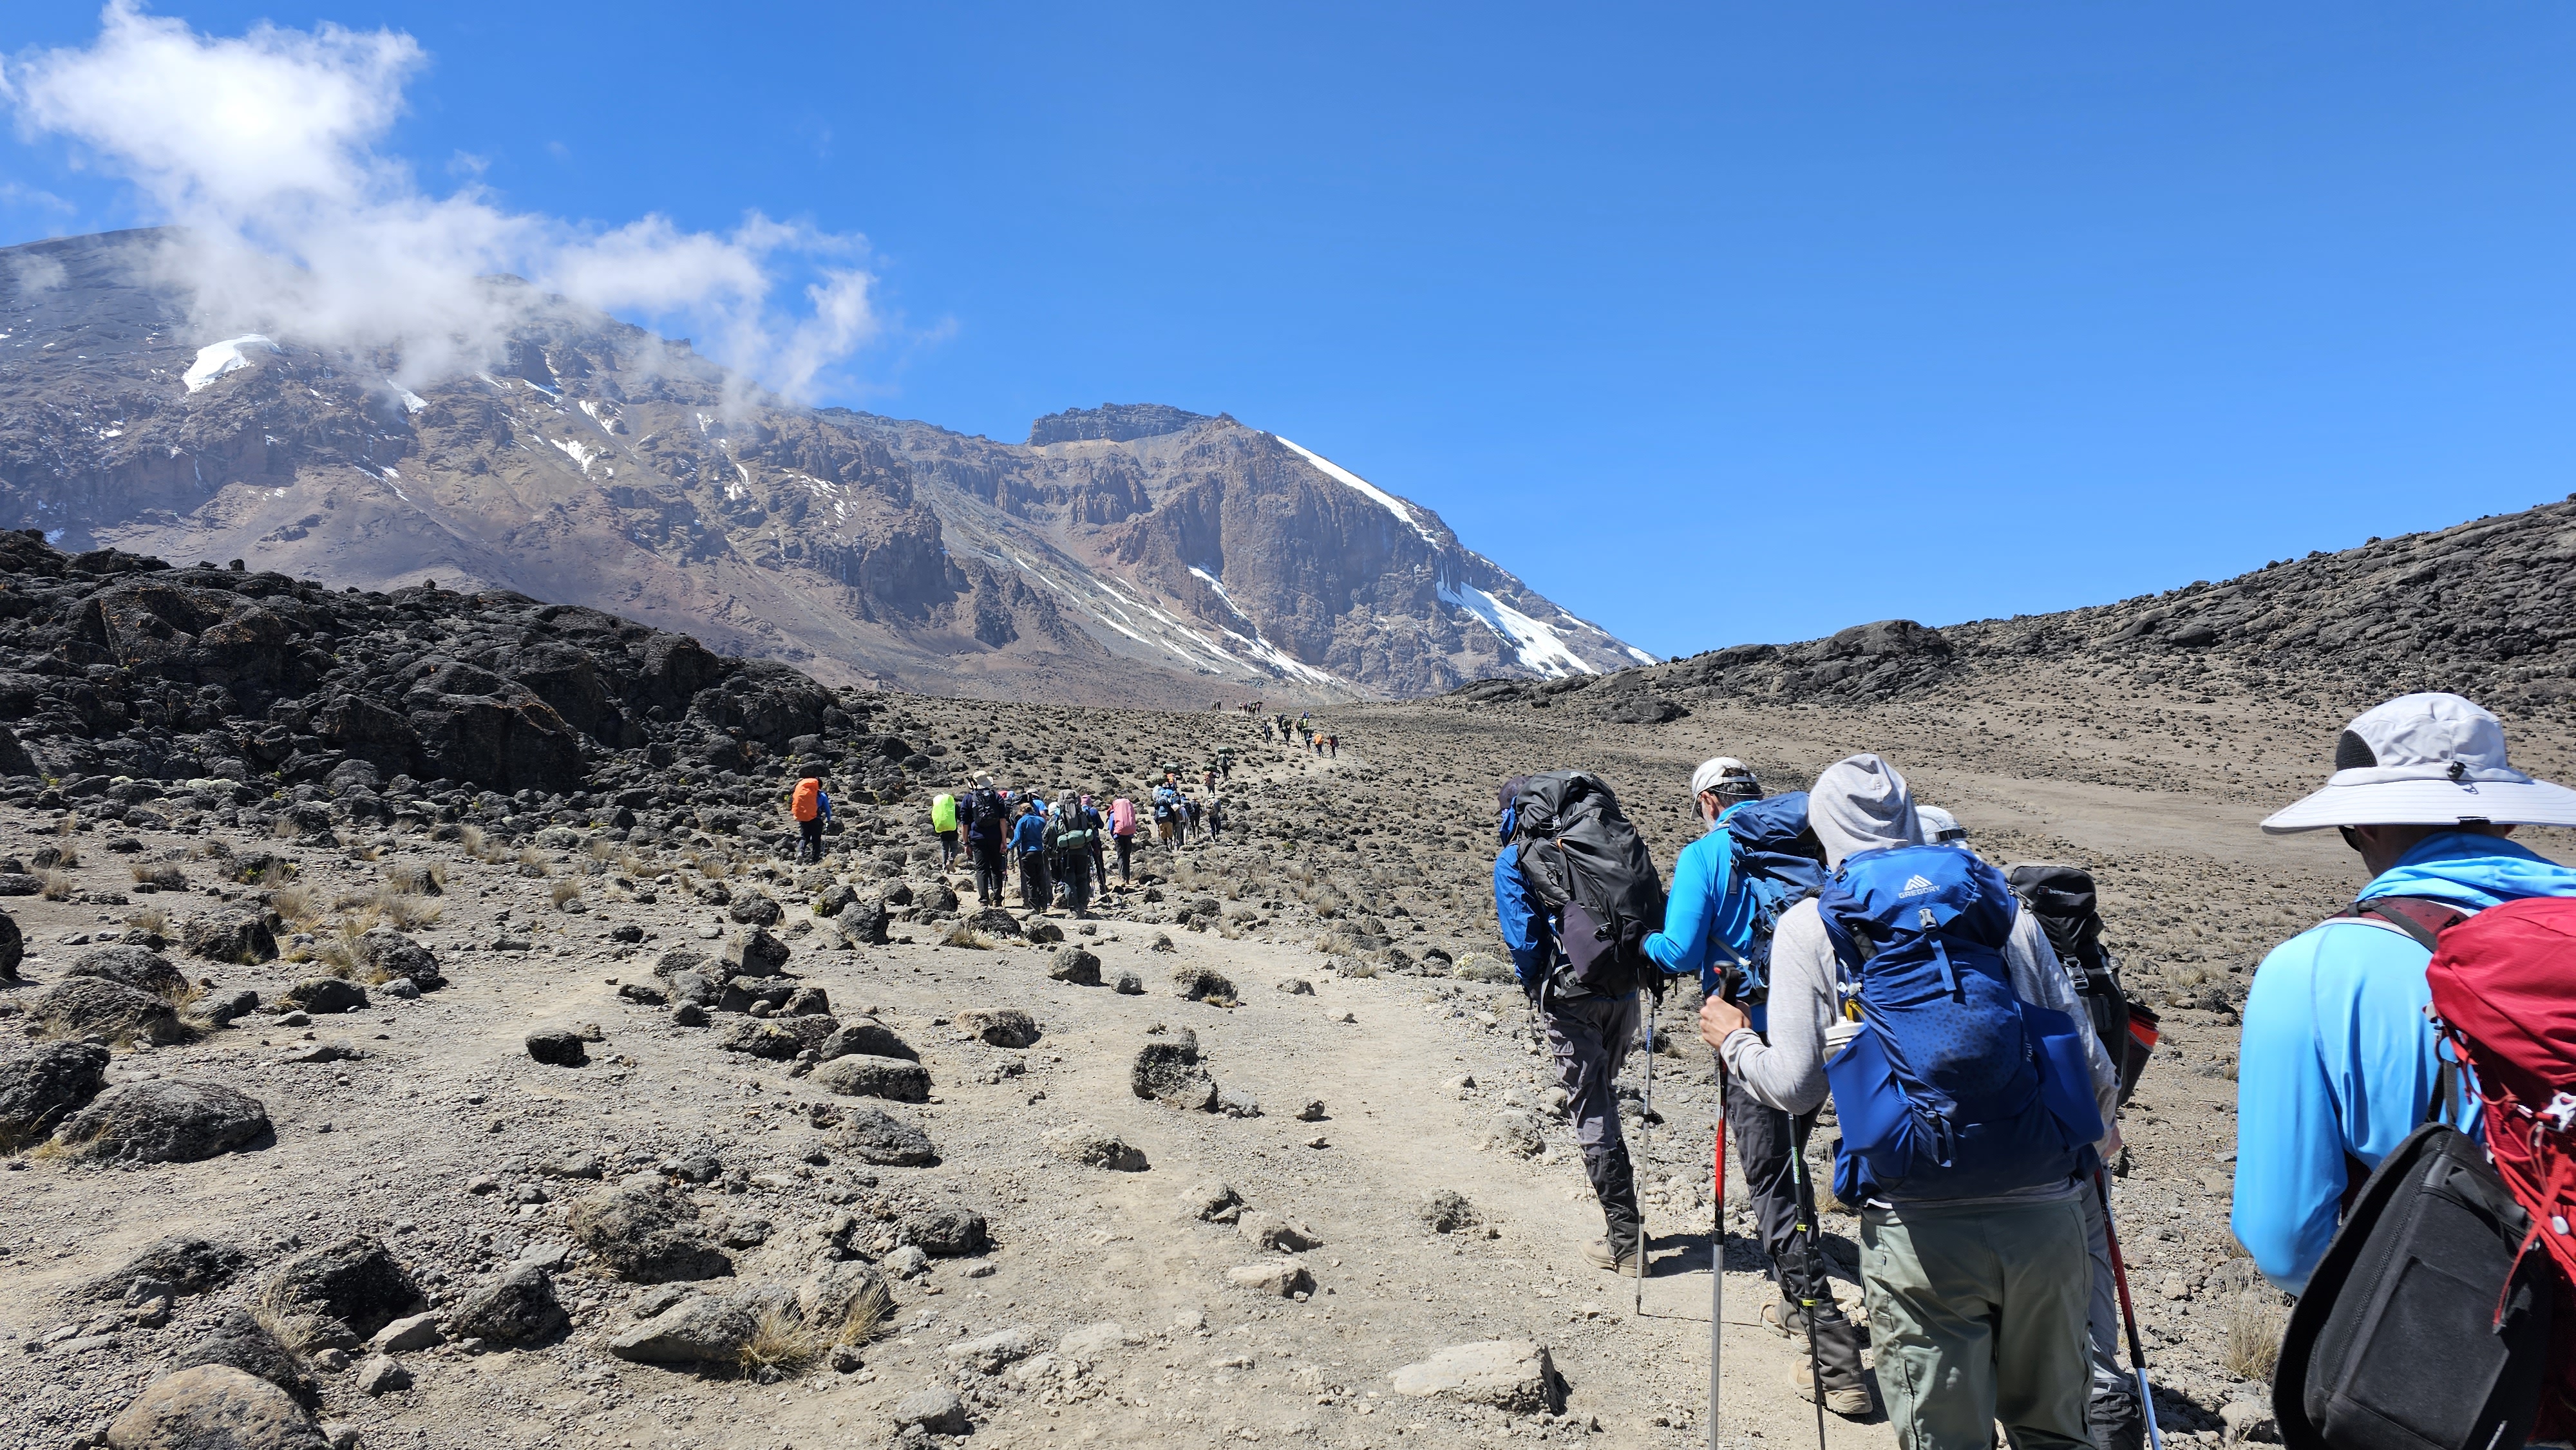
Reality: Kili is a very shy mountain, often hidden from nearby cities by cloud cover. In the days before the trek started, we saw no more than a dark smudge above the clouds. When we finally broke through to the plains on the hike, we got our first real views of Kili and that was indeed pretty exciting.
Expectation: I’d be one of the older trekkers in our group.
Reality: Our trekking party numbered ten, ages 40, 40, 44 (me!), 45, 46, 47, 49, 50, 70 (his birthday on summit day!), and 72.
Expectation: The views on the trek would be astounding.
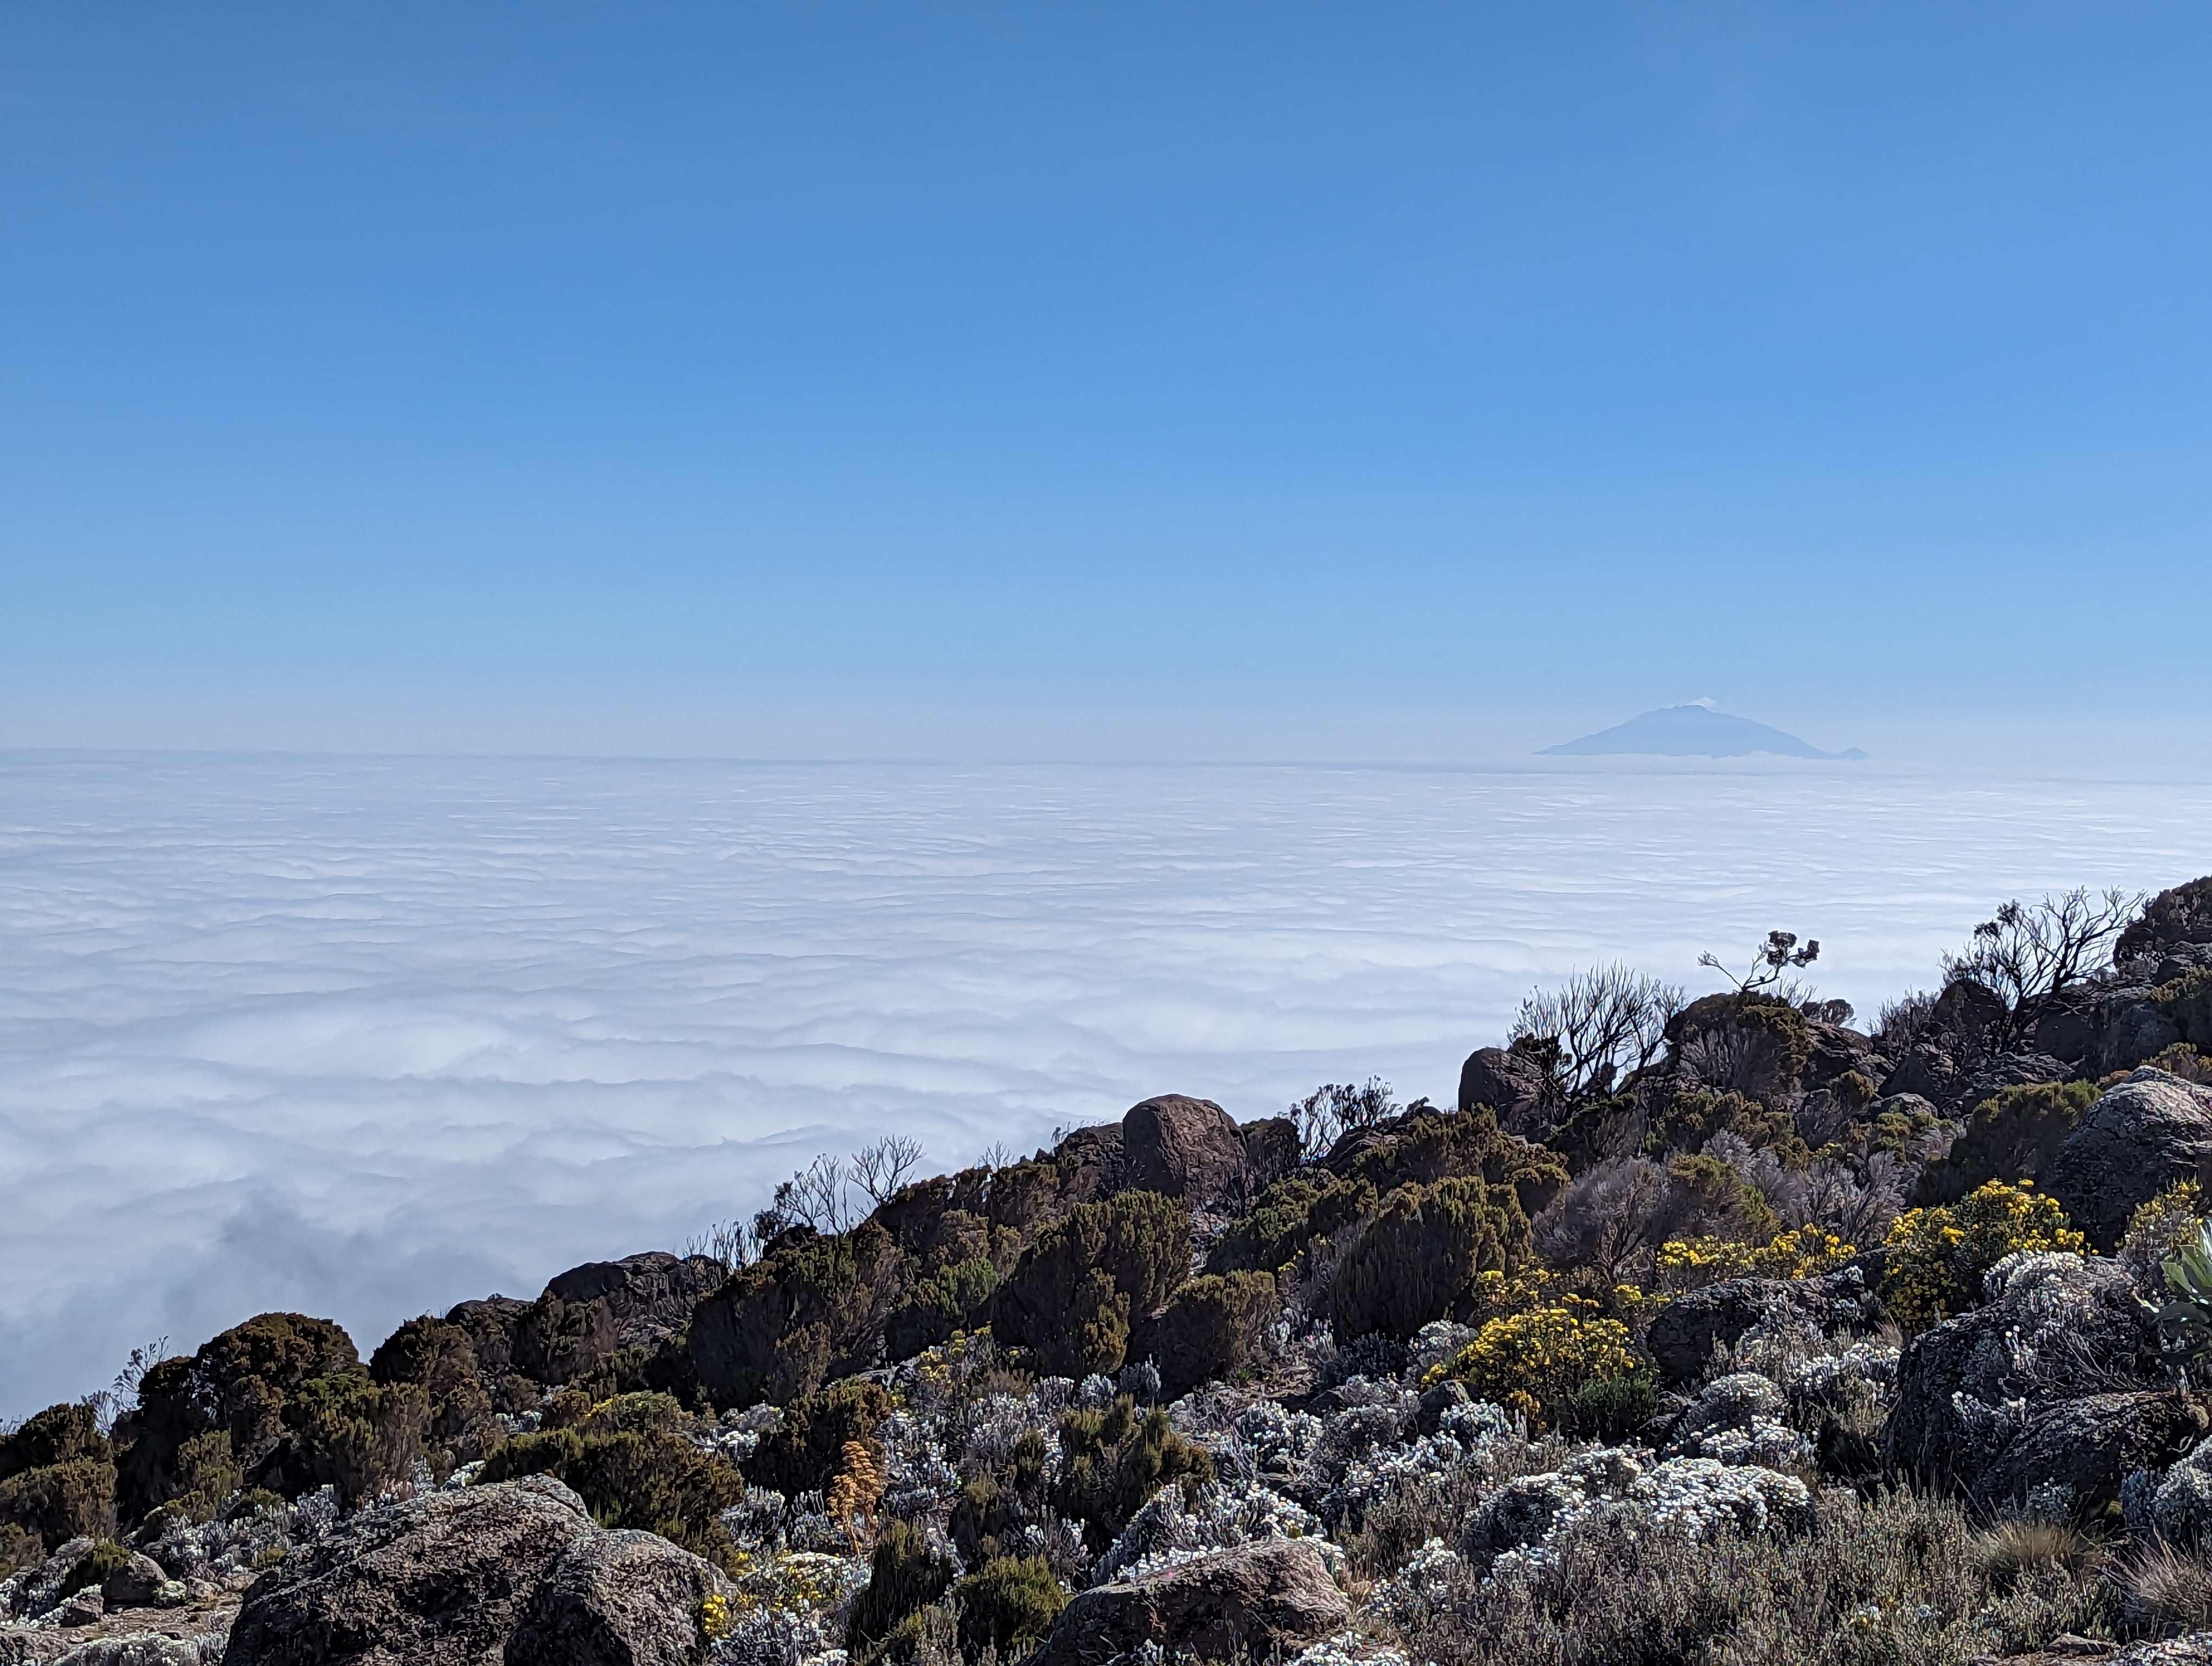
Reality: There were definitely some awesome vistas, but persistent cloud cover (below us for most of the trip!) meant that we mostly only had views of Kili’s peak itself, and the top of Mount Meru as a distant island across the sea of clouds. It’s an impressive mountain, for sure, but not necessarily a lot to look at for days on end.
During the hike, I spent a huge amount of time with my eyes on the ground ahead, deciding where to plant my poles and feet. While we hiked through the forest, there were some neat things to look at, but none seemed especially exotic compared to, say, hiking in Hawaii, or (virtually) running in Belize on the treadmill.
Expectation: Given our prolonged schedule (a 9 day trek) there would be a lot of sitting around chatting with my fellow trekkers under a gorgeous field of stars.
Reality: While the sun did indeed go down at 6:30pm every night, a full moon made star-gazing less effective. More importantly, after sundown, the temperature dropped rapidly and precipitously, making the prospect of being anywhere except burrowed into my sleeping bag an unappealing prospect. Beyond that, my (non-sun) glasses remained packed away for almost the entire trip, meaning that when I did go out at night (mostly to use the bathroom tent), the stars were barely visible to my eye. This one was a bummer.
While we definitely got in some great socialization during the trek and at meals, I spent a lot of time in my own head, wandering around taking photos, and writing in my journal.

Expectation: I’d feel a tremendous sense of accomplishment upon reaching the top.
Reality: I felt a sense of relief that I had made it without encountering any major problems. I was tired from a long day of extremely slow hiking, and reaching the top was much less emotional than I expected.
Prep
I’d set out a number of goals/plans to prepare for this trip, but much of the expected prep didn’t really happen.
- Get in shape. This I did do, but not in a very well-rounded way. I bought an incline trainer with the expectation of using it to simulate long uphill hikes, but I only did that a few times. 98% of my running was near flat. I never did any practice hikes, nor did I wear my backpack before the trip.
- Spend a bunch of time trying and buying gear. While it did indeed take quite a while to find/buy everything, I spent almost as little time as possible on it. I wrote a whole post about this topic.
- Get a bunch of vaccinations. It turns out that none are required. While I brought two new medications on the trip (anti-malarial and altitude acclimatization pill), I didn’t get any shots. While there are several recommended vaccines for Tanzania, most are not really needed for Kili hikers.
- Learn some Swahili. This seemed like a bit of a stretch but a fun exercise as I’m sadly very mono-lingual. I learned only a few words before the trip. It turns out that English is plenty to get by in tourist areas, but the locals will chat endlessly in Swahili around you and it would’ve been nice to have some clue about what they were saying.
What Went Great
The trek went great for a few reasons, but the top two were weather and people.
Our weather for the trip was basically perfect– sunny most days, and an ideal hiking temperature in the high 50s and 60s. I’d expected Tanzania to be much hotter (especially in our days on the ground before the trek) and the cool weather and altitude meant that I was barely sweaty at all. I’d packed 9 pairs of hiking socks and could’ve easily gotten away with 4. I wore a few of my hiking shirts for several days apiece, and while they got pretty dusty, they too didn’t end up smelly. While the nights got very cold (to my Texas body) dropping into the low 30s with wind, things never got as cold as expected, and I didn’t end up wearing my heavy gloves, boot spikes, or warmest base layer thermals. All told, I probably carried eight or nine pounds of weather-related gear that I didn’t need.
In terms of my trek-mates, I didn’t know what to expect, but was delighted by our group. As mentioned, we skewed older (not surprising as this was a pretty expensive trip) but we had some fascinating characters. Five had US military backgrounds– retired: two Marines, one Army, and active duty: a Navy Commander (a doctor), and an Air Force Lt. Colonel (a transport pilot).
Of us five civilians, there was a legal power couple (an EVP for a financial services company and her cinematographer husband), their college friend (also a lawyer), my brother and me.
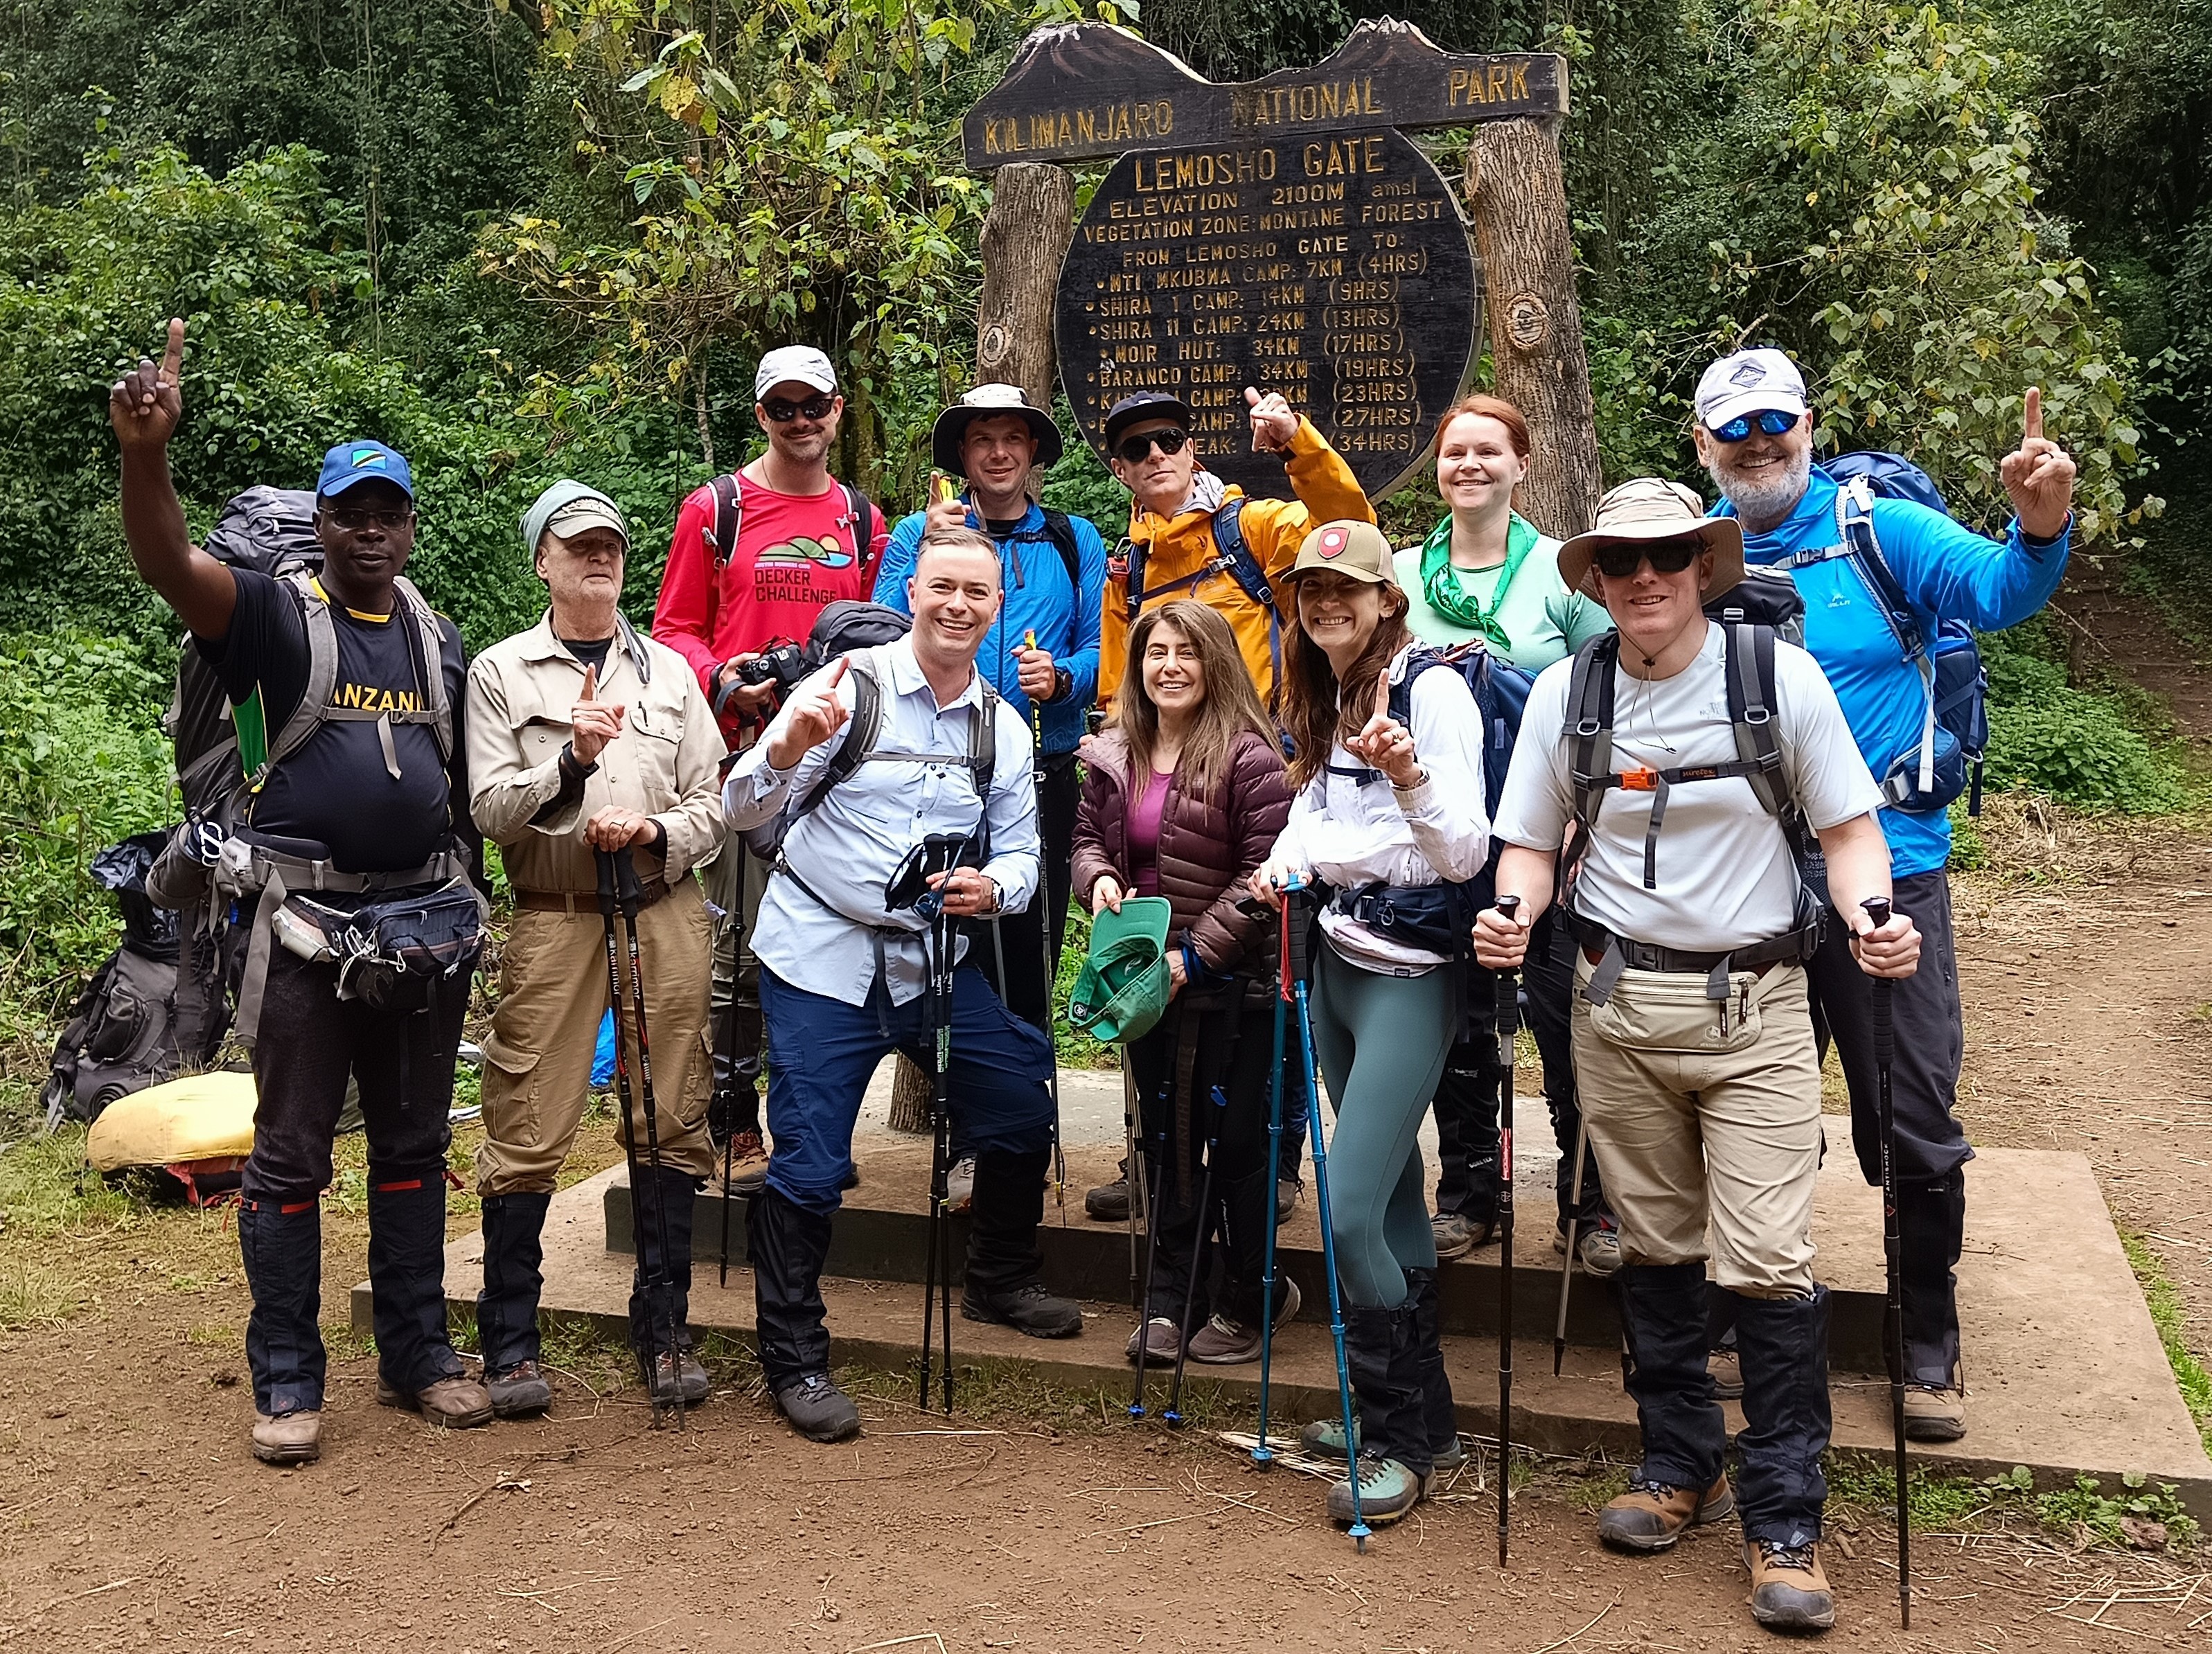
All ten of us had gone in assuming that there’d probably be at least one whiner in the group, but everyone was awesome, even in the face of setbacks. The biggest of those setbacks my brother and I had managed to avoid: Five of our trekmates’ luggage hadn’t arrived by the time we left our pre-trek safari lodge, meaning they’d have to start the trek with only the gear they’d packed in their carry-on backpacks and key items they could rent upon departure. We all tried to share some of our extra pieces as possible (water bottles, handkerchiefs, snacks, sunscreen, bug spray, anti-malarial/altitude medications, etc) and ultimately everyone’s luggage had arrived before the all-important summit day.
Beyond the ten of us trekkers, we also had a huge set of support staff: one head guide, three assistant guides, a chef, a waiter, a handful of personal porters, and almost fifty different porters who brought our tents, duffels, and other infrastructure up the mountain. They were an awesome, hardworking, and kind group who not only made the trek possible but also helped make the trip feel luxurious.
Final Costs
While Kilimanjaro is not difficult to hike, getting there and going up is not accessible to many people for financial reasons.
When the idea to do this trip first entered my mind, I very roughly swagged it as likely to cost somewhere just under $40,000 total for my brother and I.
In reality, even though we went with a fancy company, the tab came in quite a bit under that guesstimate, although the true cost depends on what you include (e.g. I spent ~$6k on exercise equipment and services while getting in shape).
Total costs for my brother and I together, including myriad taxes:
| Guided Trek | $13300 | Thomson Safaris |
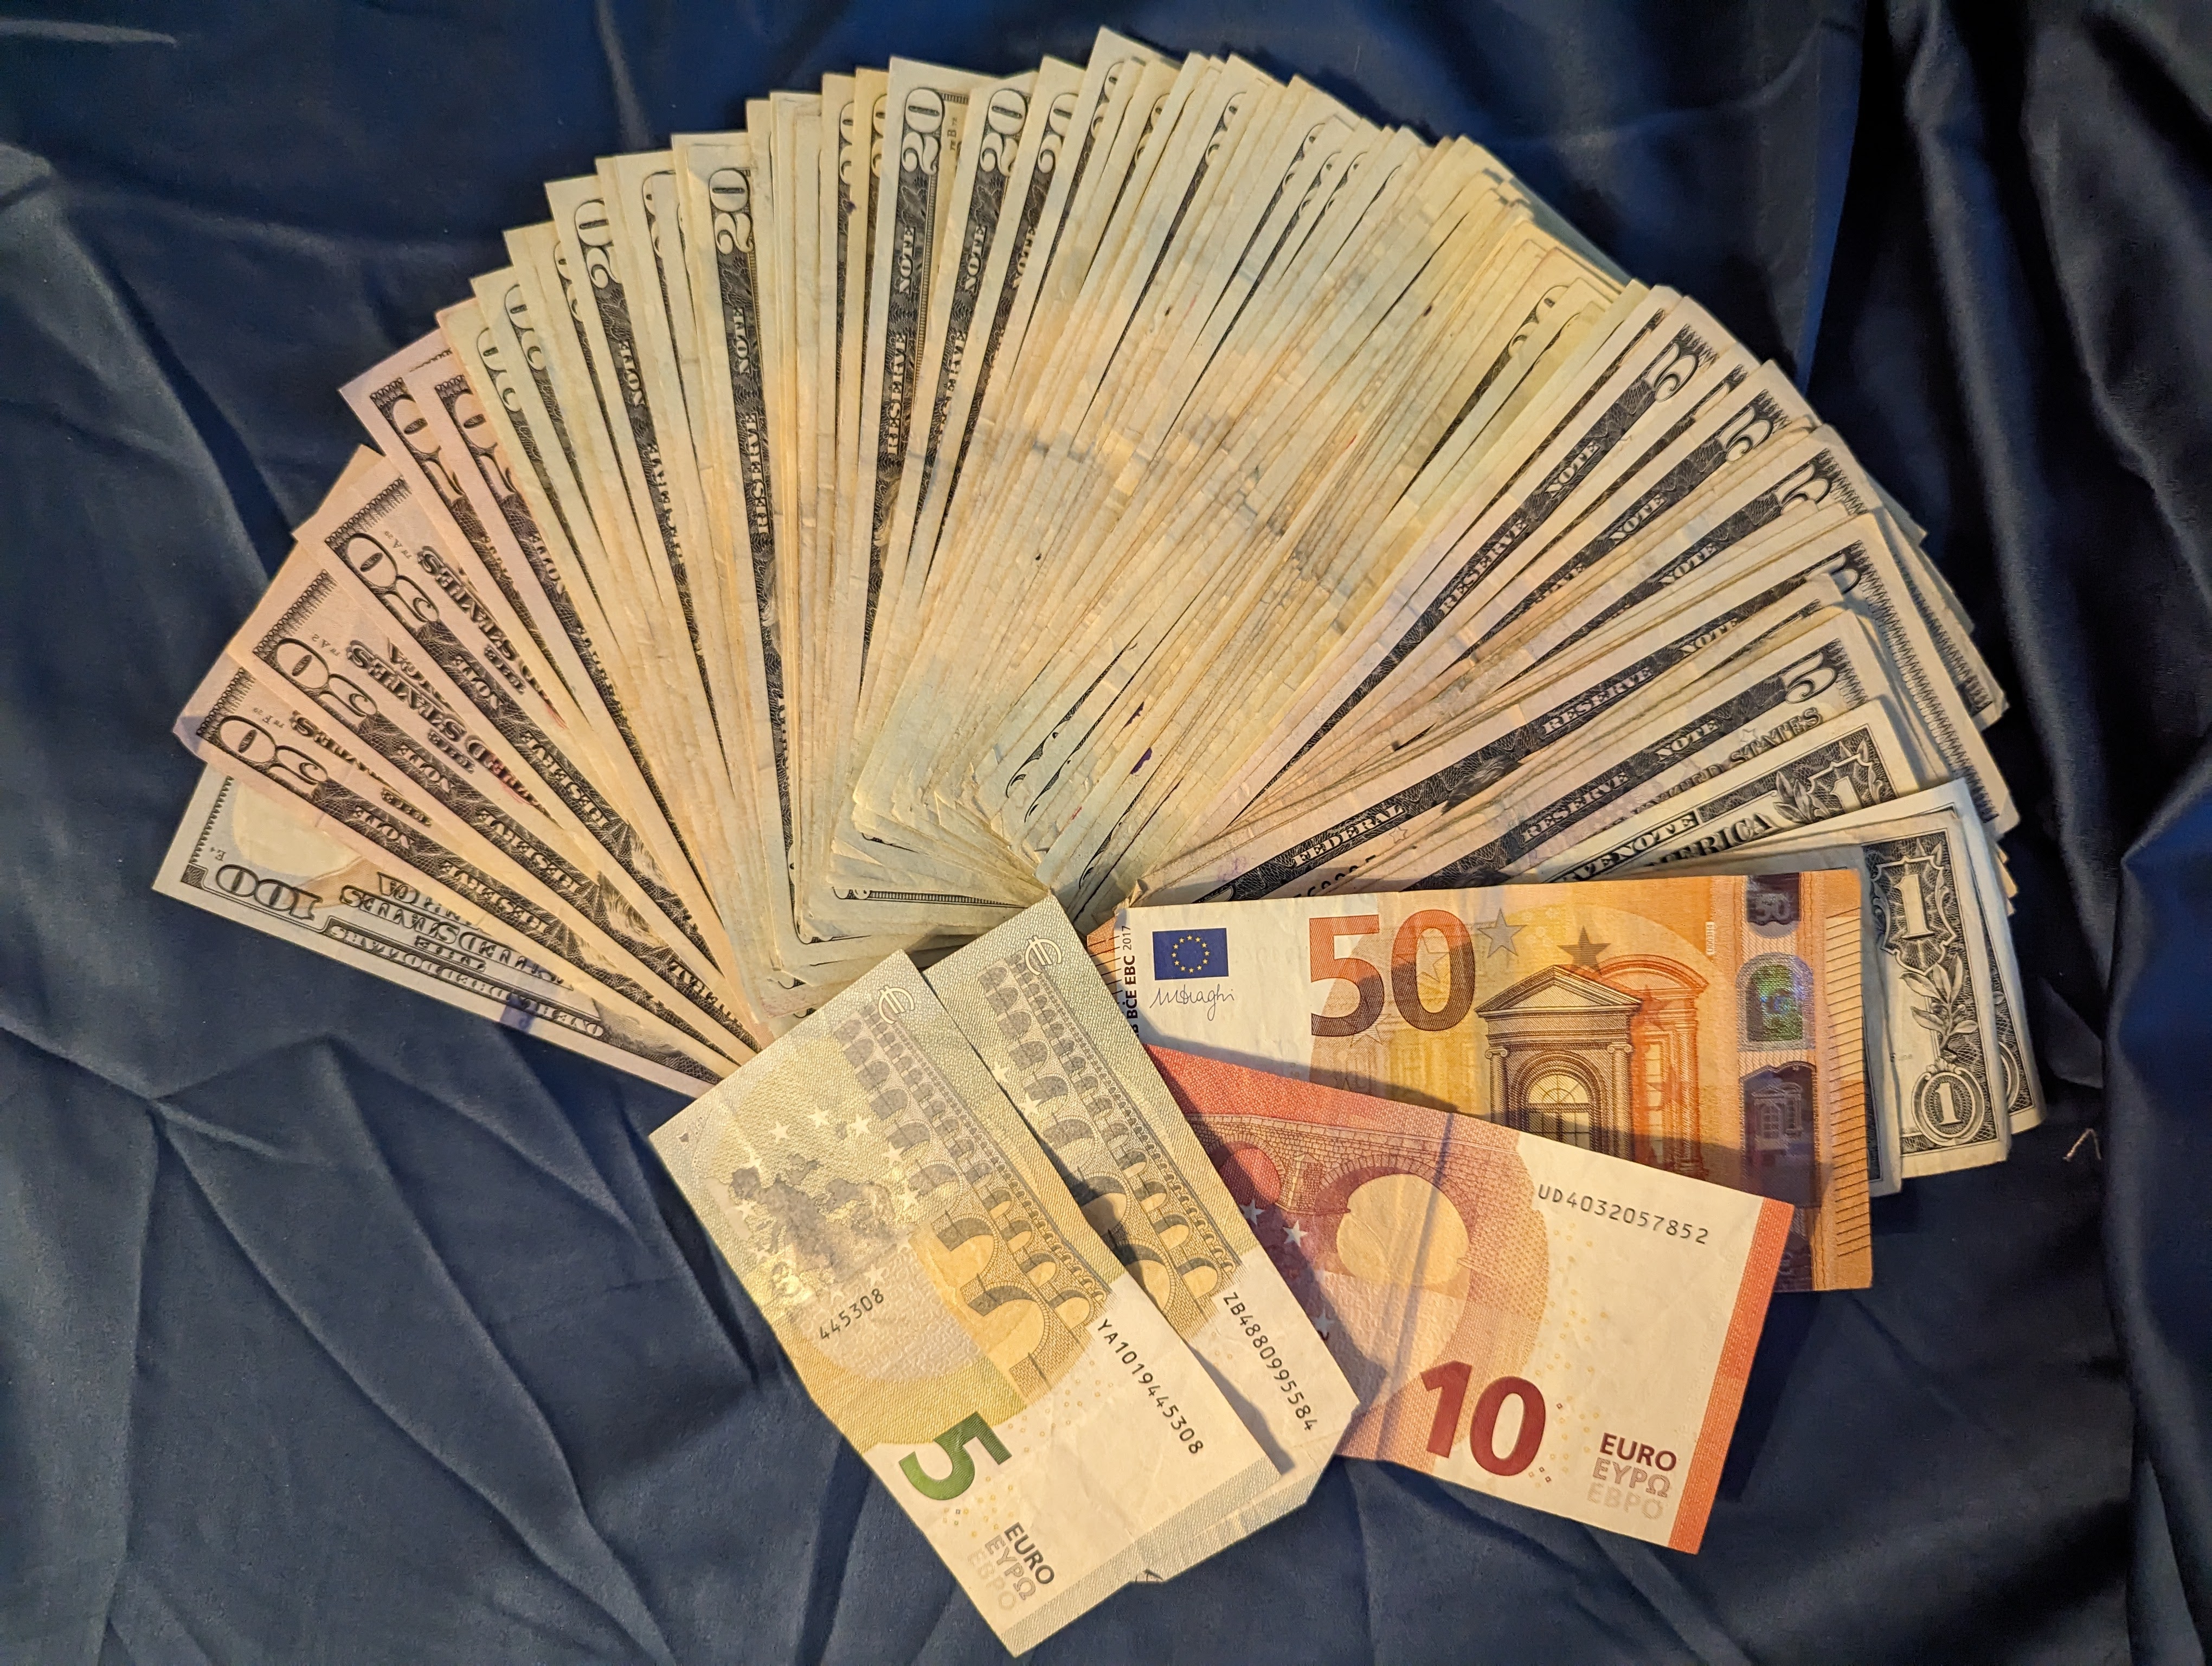
| Tips | $1400 | Guides, porters, drivers, etc. Carrying this much cash for almost two weeks did not feel comfortable. |
| Airfare | $5694 | Delta/KLM Economy Plus ($4774 base fare + $920 in “Comfort” upgrades) |
| Insurance | $536 | $461 airfare insurance, $75 in evacuation insurance |
| Gear | $2600 | Mostly at Amazon. [Details] |
| Visas | $200 | Tanzania Tourist Visas |
| 2 Pre-Trek days in Tanzania | $1600 | Including hotel, mini safari, coffee tour |
| Food/drink | $100 | Most of our food/drink were part of the package |
| Souvenirs | $300 | A canvas painting, coffee, shirts, fridge magnets, etc. |
…for a total somewhere around $25730 for both of us.
Beyond the direct expenses, the trip entailed taking ~10 days off work, and I followed it with a week’s vacation with my family. These three weeks off of work made for my longest break in 22 working years.
To be continued…
This is the first post in a series. You can continue reading here:
Update: I’ve signed up for Thomson’s “Grand Traverse” trek over the last week of 2025.